Grasp Planner Example
In this part of the tutorial we will reference the scene we have generated in :ref:’workcell_builder_example’
Currently, perception data inputs for the Grasp Planner only works with:
If you currently do not have a working perception system, you can still test out the package using either the epd_rosbag or pointcloud_rosbag located in PATH TO ROSBAG folder TO BE WRITTEN
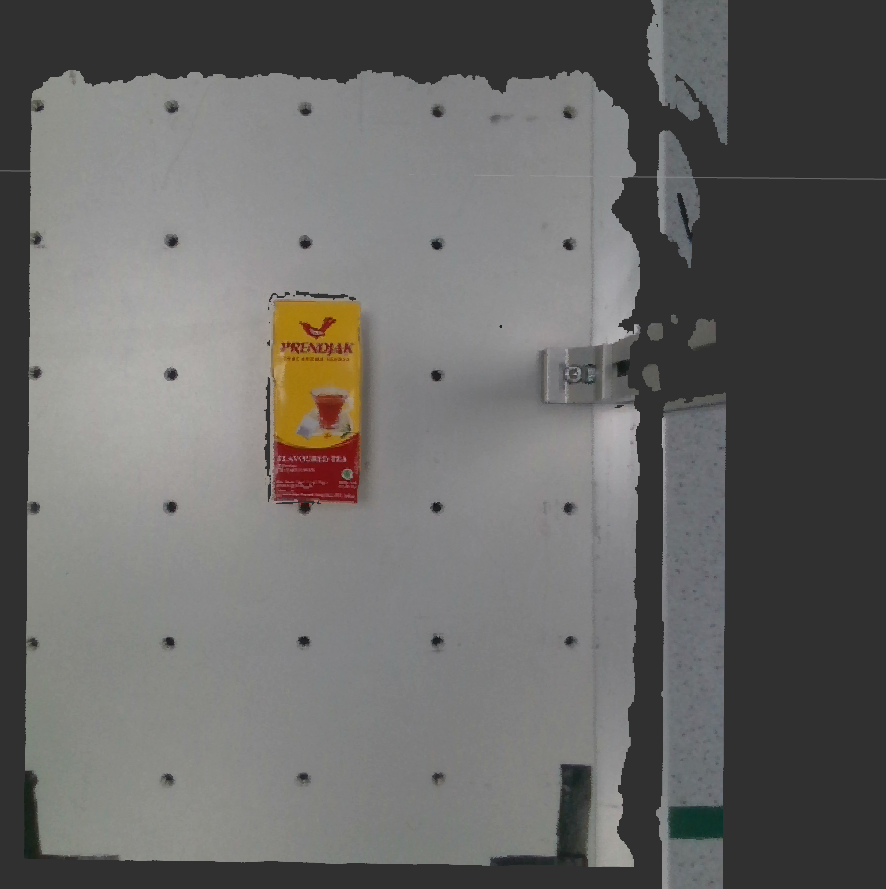
The rosbags are using the stream of a simple tea box as shown below.
Note
Prority is given to Easy Perception Deployment topic if both Pointcloud and Easy Perception Deployment are running simultaneously.
Set up end effector parameters
The current version of Grasp Planner is able support end-effectors for both multiple suction arrays and multiple fingered grippers.
For the example, we will utilize the 2-Finger gripper in line with the end-Effector used for the scene in Workcell Builder Example
The configuration files need to be set according to the type of End-effector that is being used.
In the configuration file found in /grasp_planner/example/config/params_2f.yaml,
the contents of the .yaml file should be as followed:
2-Finger gripper
grasp_planning_node:
  ros__parameters:
    perception_topic: "/camera/pointcloud"
    camera_frame: "camera_color_optical_frame"
    point_cloud_params:
      passthrough_filter_limits_x: [-0.50, 0.50]
      passthrough_filter_limits_y: [-0.15, 0.40]
      passthrough_filter_limits_z: [0.01, 0.70]
      segmentation_max_iterations: 50
      segmentation_distance_threshold: 0.01
      cluster_tolerance: 0.01
      min_cluster_size: 750
      cloud_normal_radius: 0.03
    end_effectors:
      end_effector_names: [robotiq_2f]
      robotiq_2f:
          type: finger
          num_fingers_side_1: 1
          num_fingers_side_2: 1
          distance_between_fingers_1: 0.0
          distance_between_fingers_2: 0.0
          finger_thickness: 0.02
          gripper_stroke: 0.085
          grasp_planning_params:
            grasp_plane_dist_limit: 0.007
            voxel_size: 0.01
            grasp_rank_weight_1: 1.5
            grasp_rank_weight_2: 1.0
            world_x_angle_threshold: 0.5
            world_y_angle_threshold: 0.5
            world_z_angle_threshold: 0.25
Tip
For more indepth information on how to configure the .yaml file for your own end-effector.
Head on over to Grasp Planner Configuration File
Running the Grasp Planner
This part of the example requires 2 terminals. We will be running the epd_rosbag for this example.
In terminal 1: (Grasp Planner Terminal)
source /opt/ros/foxy/setup.bash

source PATH_TO_MOVEIT_WS/install/setup.bash

cd PATH_TO_EMD_WS/

colcon build

source install/setup.bash

ros2 launch grasp_planner grasp_planner_launch.py
The package will then show the following when waiting for the perception topic
[pcl_test_node-1] waiting...
A blank Cloud Viewer window will pop up
Proceed to run the perception topic
Note
Take note that Grasp Execution should be launched first as the Grasp Planner requires the frame camera_color_optical_frame to be present.
If not the following will be shown on Terminal 1:
[pcl_test_node-1] [INFO] [1617252094.561454528] [pcl_node]: Message Filter dropping message: frame 'camera_color_optical_frame' at time 0.000 for reason 'Unknown'
In terminal 2: (Rosbag/Perception stream Terminal)
Note
This step uses the epd_rosbag as an example, you can provide your own stream of pointcloud/EPD data or use the camera_rosbag(uses /pointcloud topic), found in the rosbag folder as well.
Tip
More information on acceptable message types can be found in Grasp Planner Output Message Types
epd_rosbag
source /opt/ros/foxy/setup.bash

cd ~/workcell_ws/

source install/setup.bash

cd PATH_TO_CAMERA/EPD_ROSBAG

ros2 bag play epd_rosbag.db3
Once successfully launched, the output should be as shown below on Terminal 2.
[INFO] [1617251978.247342106] [rosbag2_storage]: Opened database 'epd_rosbag.db3' for READ_ONLY.
Viewing grasping results on Cloud viewer
Proceed to click on the Cloud Viewer window and it will show the pointcloud and bounding box of the object (Use the mouse scroll to view the pointclouds better).
Press the
Qkey within the Cloud Viewer window to view the results of the grasp_samples
The terminal running grasp_planner_launch.py will show the ranks of all ranked grasps on the object and the total number of grasps that can be sampled for the object.
First grasp visualized on the viewer is the best grasp.
Pressing
Qwill show the rest of the consecutively ranked grasps.
Once all the grasps have been screened through, the grasp_planner will publish the /grasp_tasks topic.
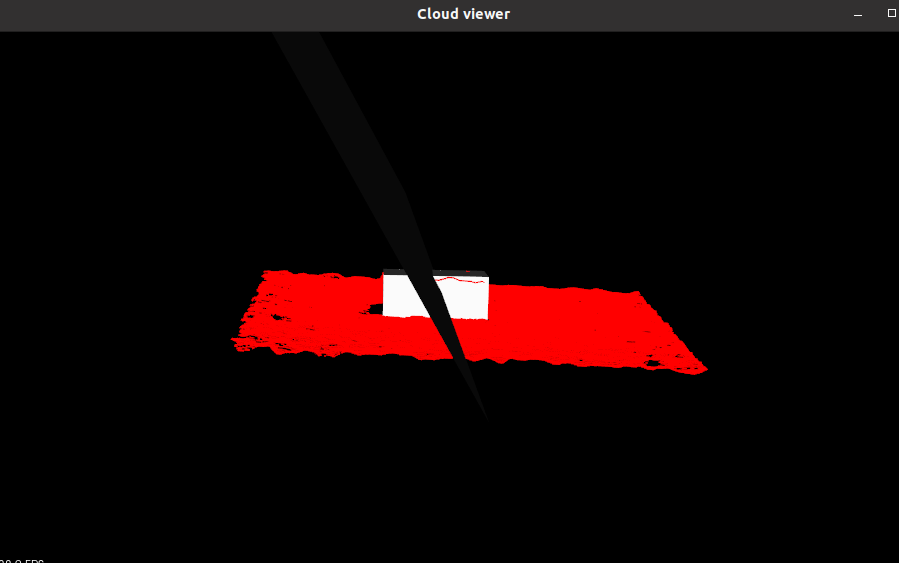
The Cloud Viewer window will then load the frame of the perception input data as shown below:
Pointcloud data
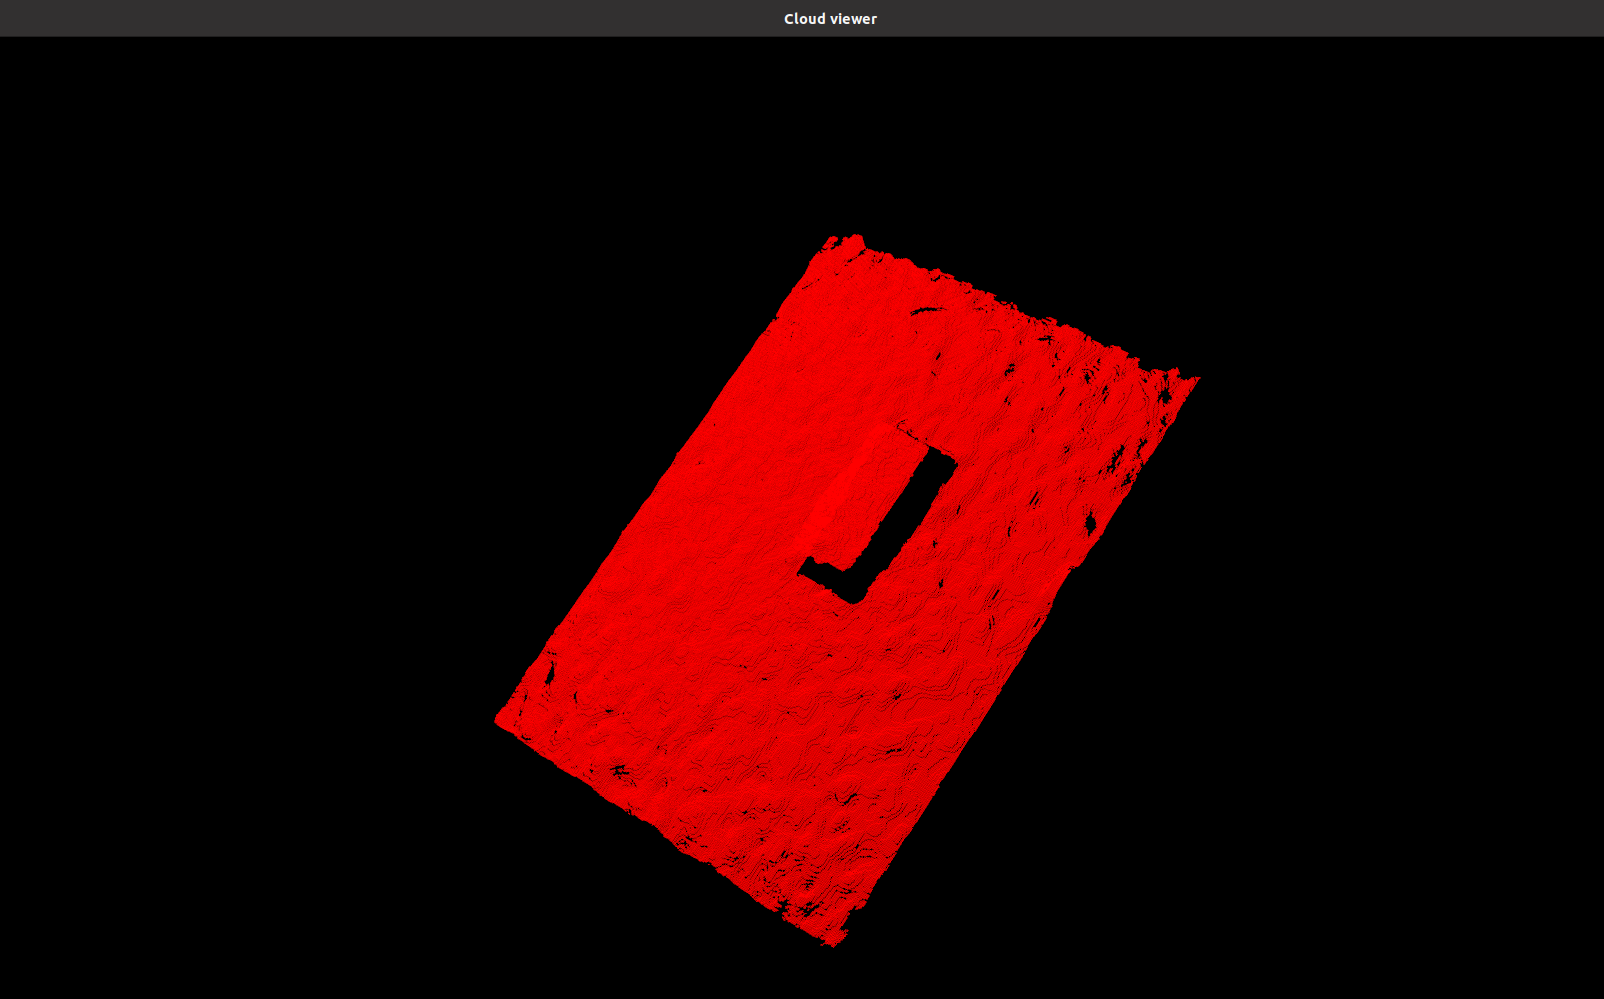
Object Bounding Box
Grasp visualization
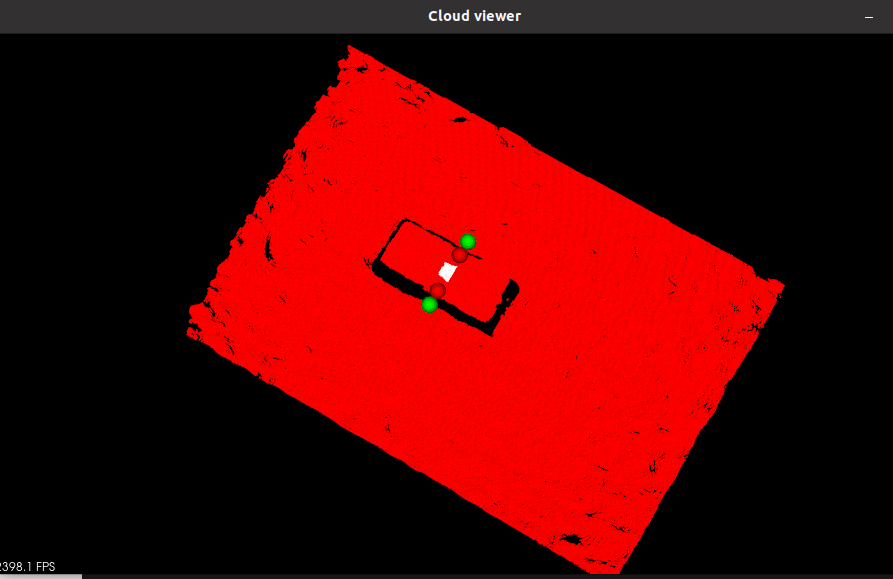
The grasps are ranked based off the quality of their grasps. The pose and orientation of the top ranked grasp will then be published for Grasp Execution Example